
Introduction
In this project we were assigned to do a series of labs that taught us how electric circuits work. We started off working with lightbulbs, batteries and alligator clips to make it easy, and soon we moved to breadboards. On the breadboards we worked with resistors, potentiometers, capacitors, 555 timers and LED lights.
Key terms
Circuit: a complete loop of conductive material connected to a power source, usually at least one resistor.
Resistors: poor conductors that reduce voltage, good conductors have little resistance (ex. copper)
Parallel circuits: draws more electricity because as the number of bulbs increases, the resistance in turn goes down.
Kirchoff's 1st Rule: The total current out of a node equals the total current into the node.
Breadboards: vertical rows are connected in the two outside columns on both the left and right side, in the center columns, horizontal rows are connected
Voltage: push/pull of electricity, pressure or Potential Energy difference. (Think of it like the difference in amount of power across a resistor or multiple.)
Series circuits: draws less electricity because each additional bulb is extra resistance. Voltage changes, but current remains the same throughout.
project history
We started this project doing a series of labs with alligator clips and light bulbs. After getting comfortable with them we moved on to breadboards.
We had some trouble with the capacitors but other than that we moved fairly quickly through the electric experiment packet. I had some trouble with understanding the resistors code listed below. It is pretty simple but hard to memorize.
1st band = 1st digit
2nd band = 2nd digit
3rd band = # of 0's
4th band = tolerance
0 Black
1 Brown
2 Red
3 Orange
4 Yellow
5 Green
6 Blue
7 Violet
8 Gray
9 White
0.1 (+/- 5%) Gold
0.01 (+/- 10%) Silver
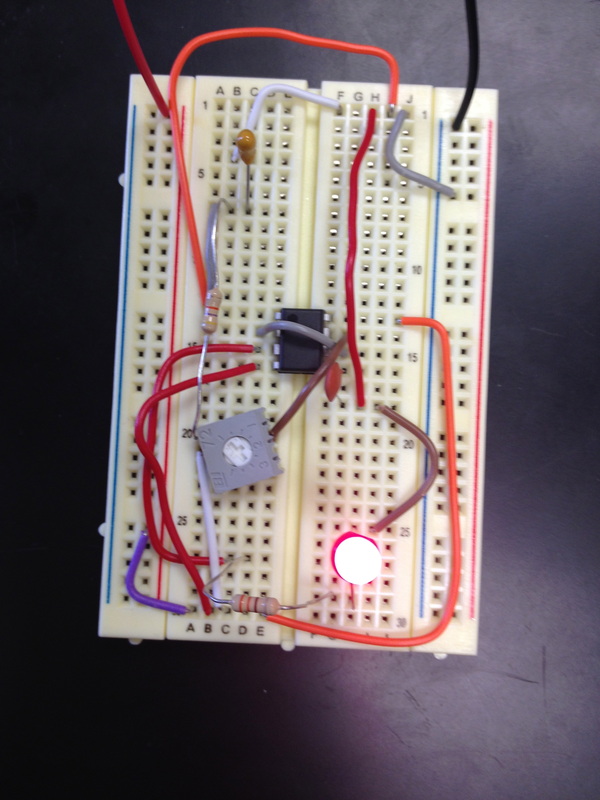
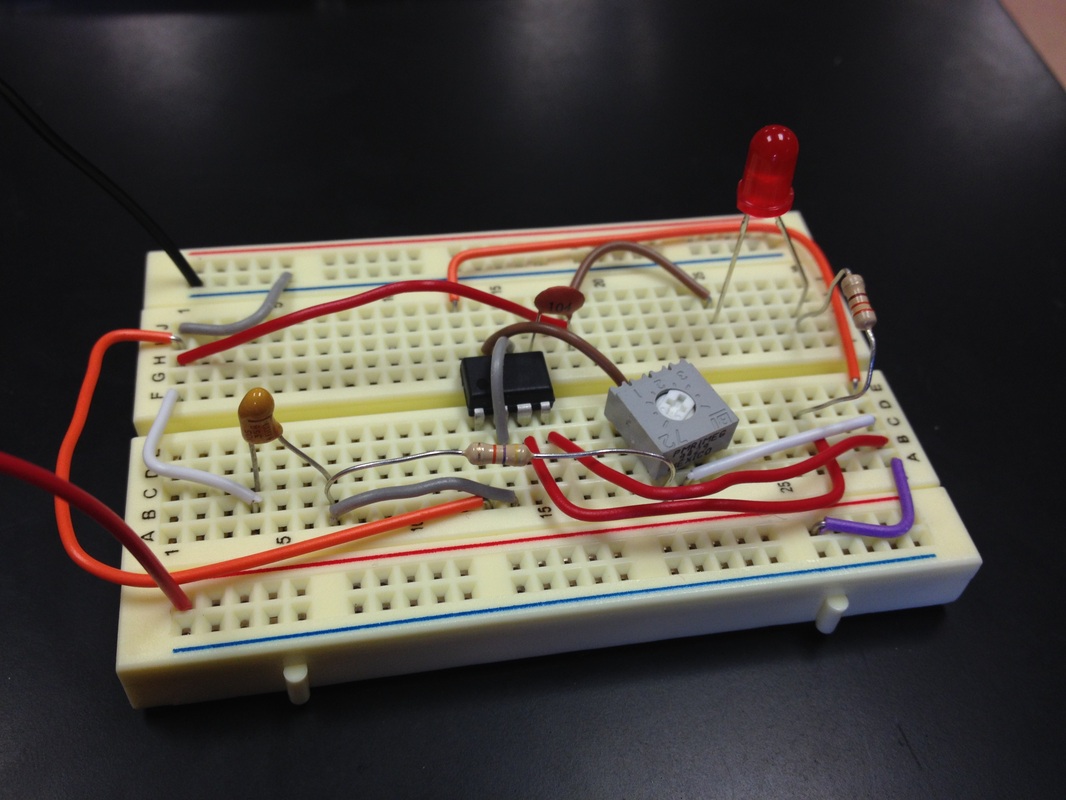
final project
We had an in-class quiz where we had to complete a breadboard circuit that made an LED light blink at a rate adjustable by a potentiometer. This was our final working product:
reflections
I think that this was the most useful project we did this year. It really had more real life applications than any other project and was also the most interesting. I liked that we really only worked with one other partner for this project because I feel that if we worked with more it would be harder to learn as much as I did. This wasn't the most fun project but it was probably the most useful and I think I probably did the best in it.
